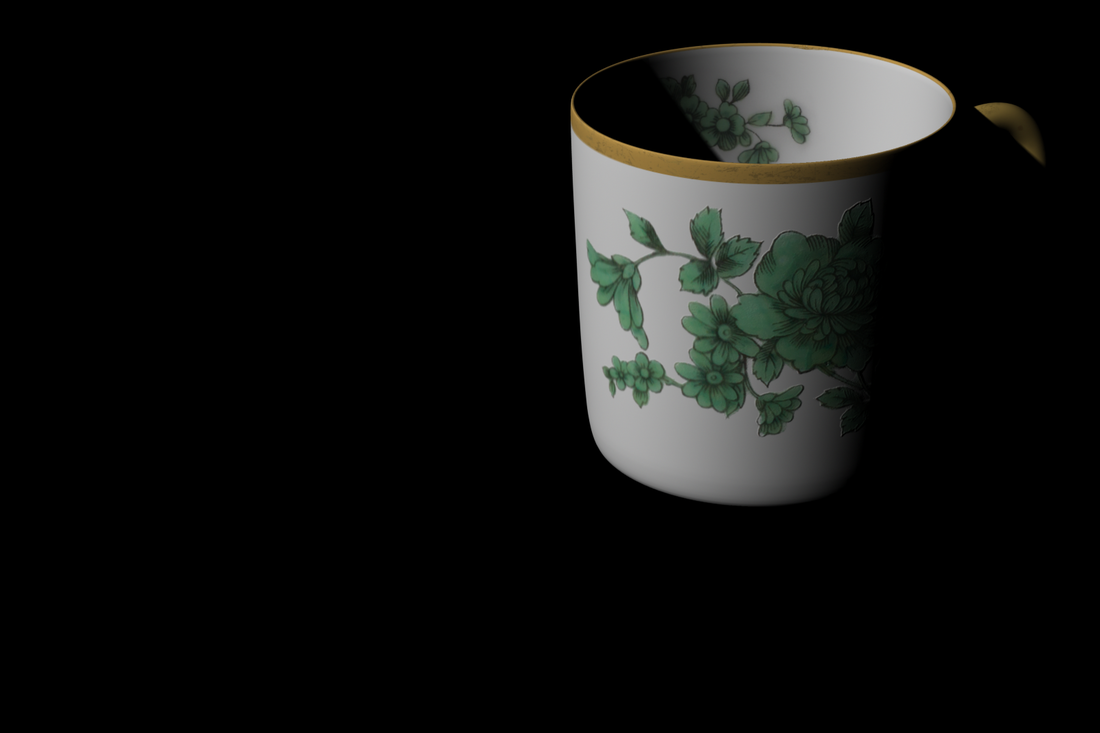
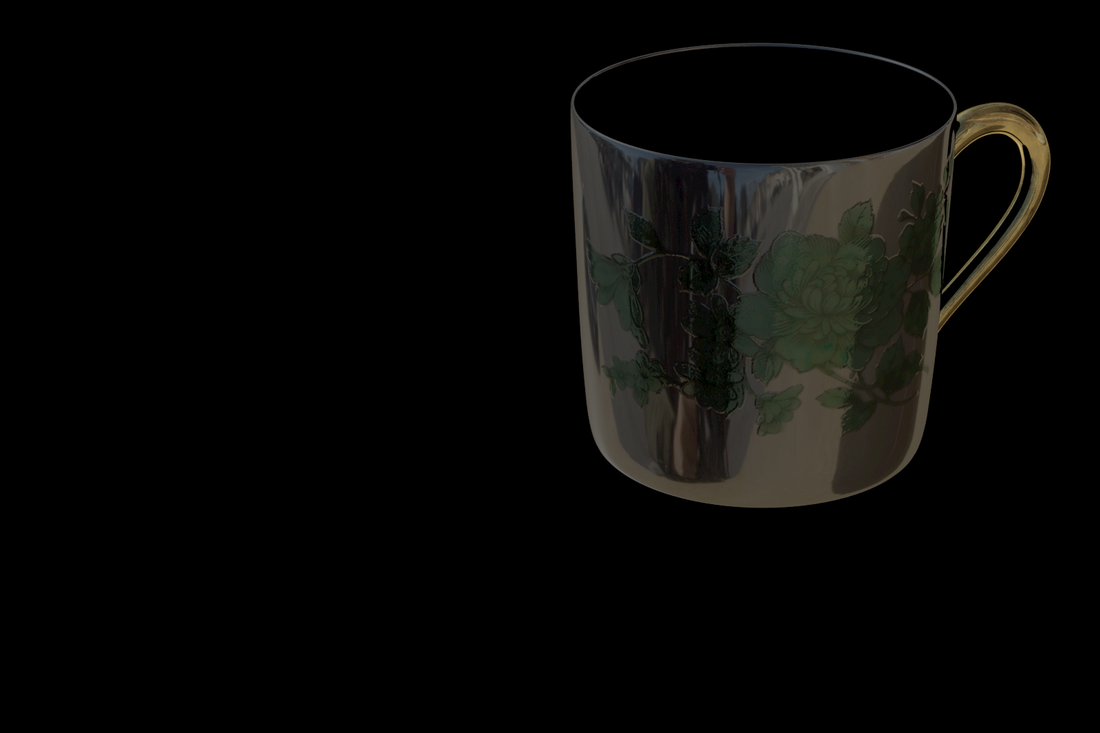
3D Render - Match to a Real Object
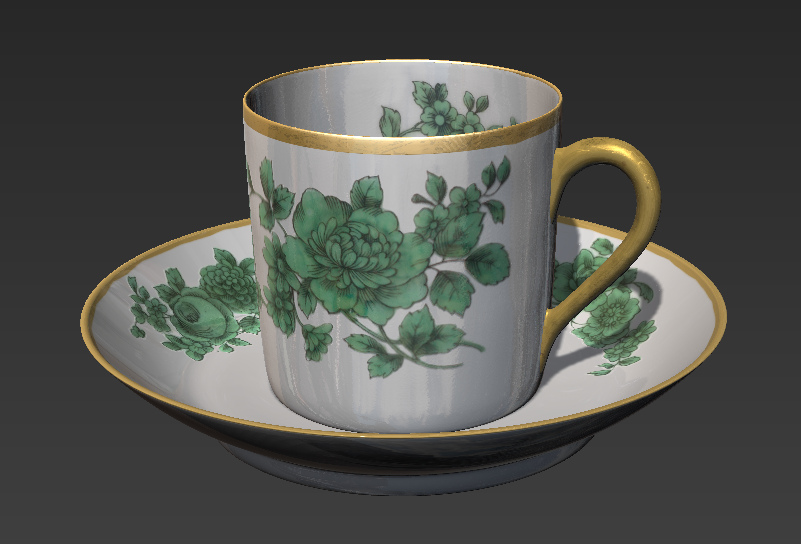
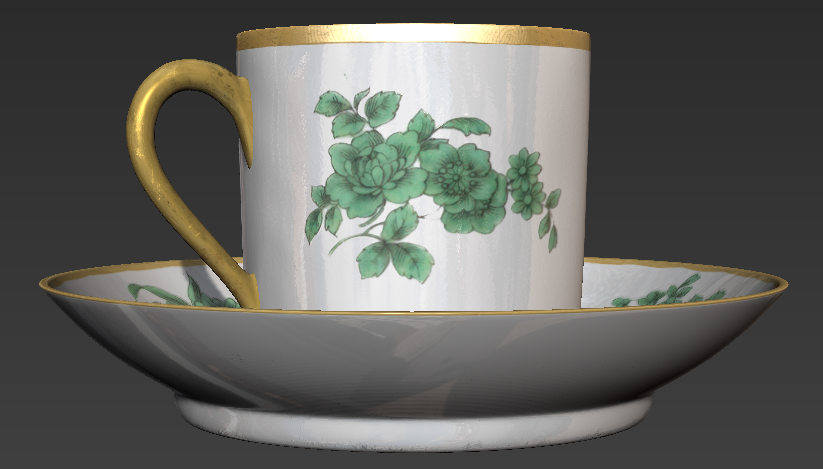
Finished Result
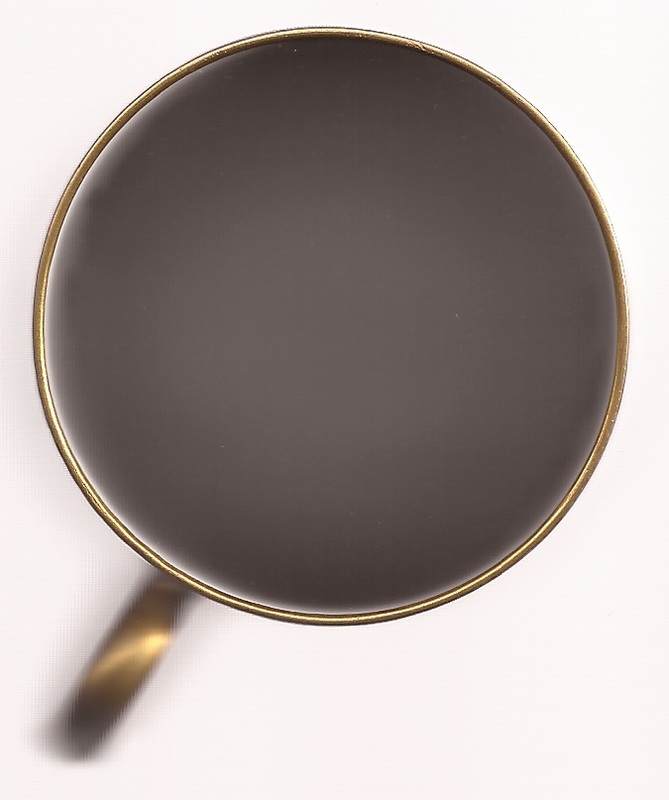
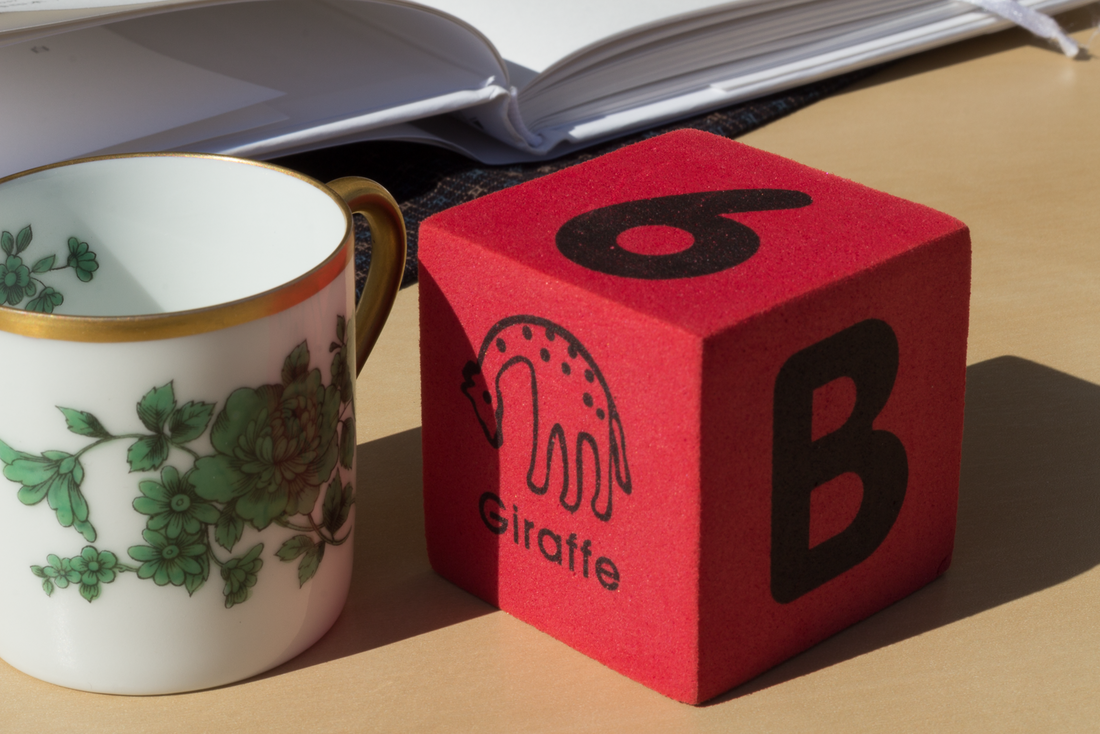
Object - Teacup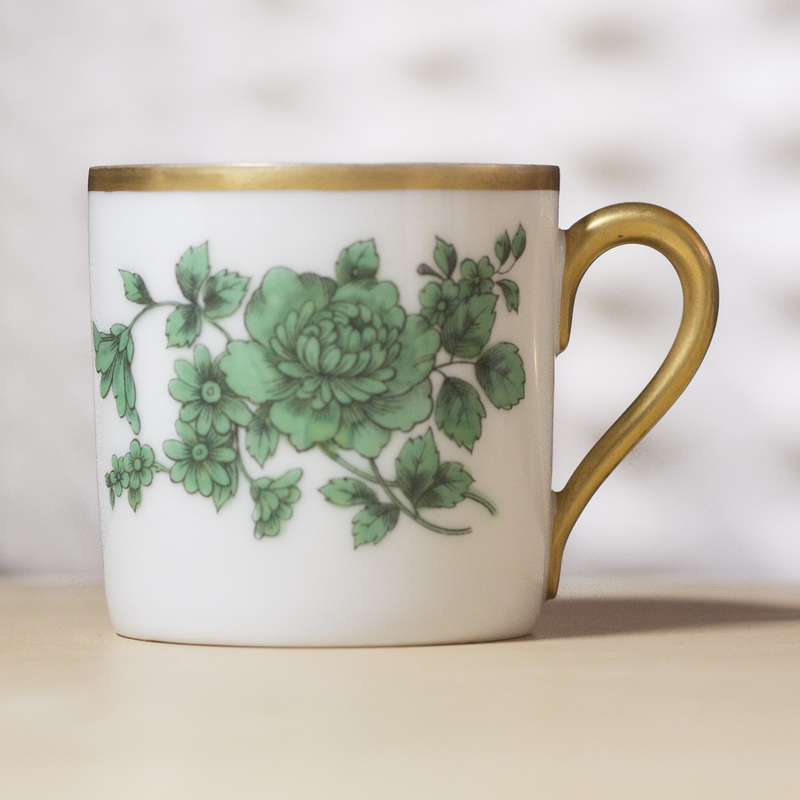
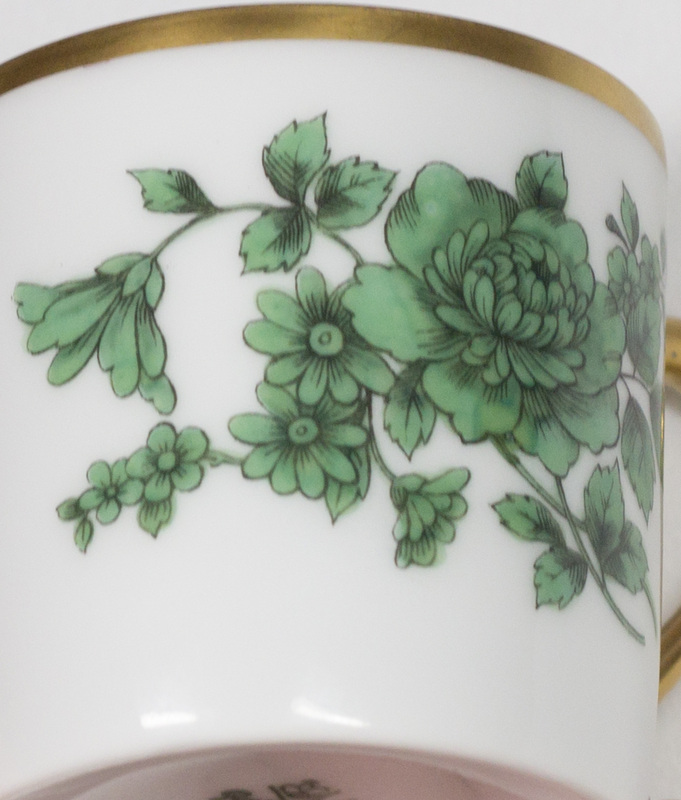
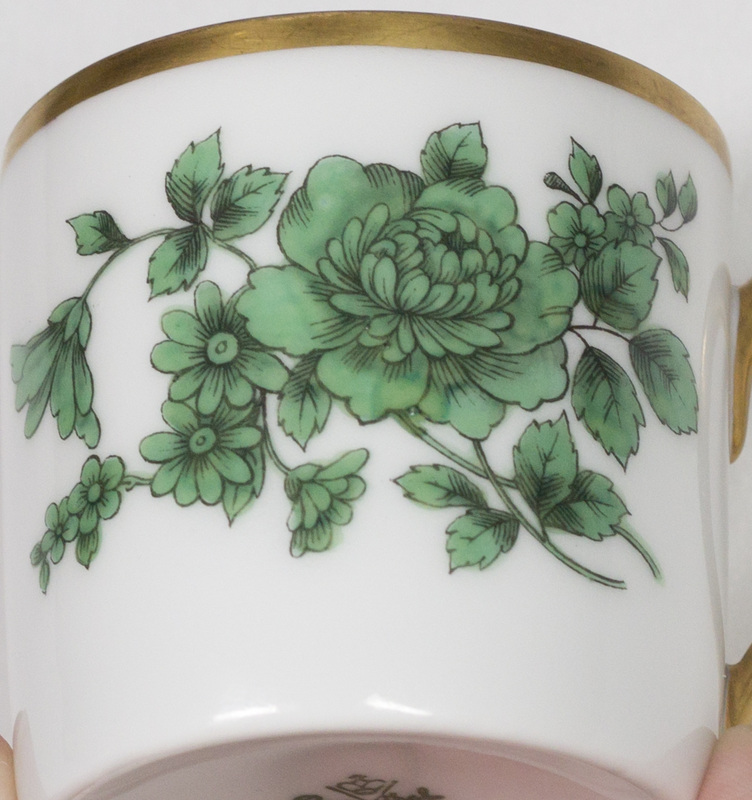
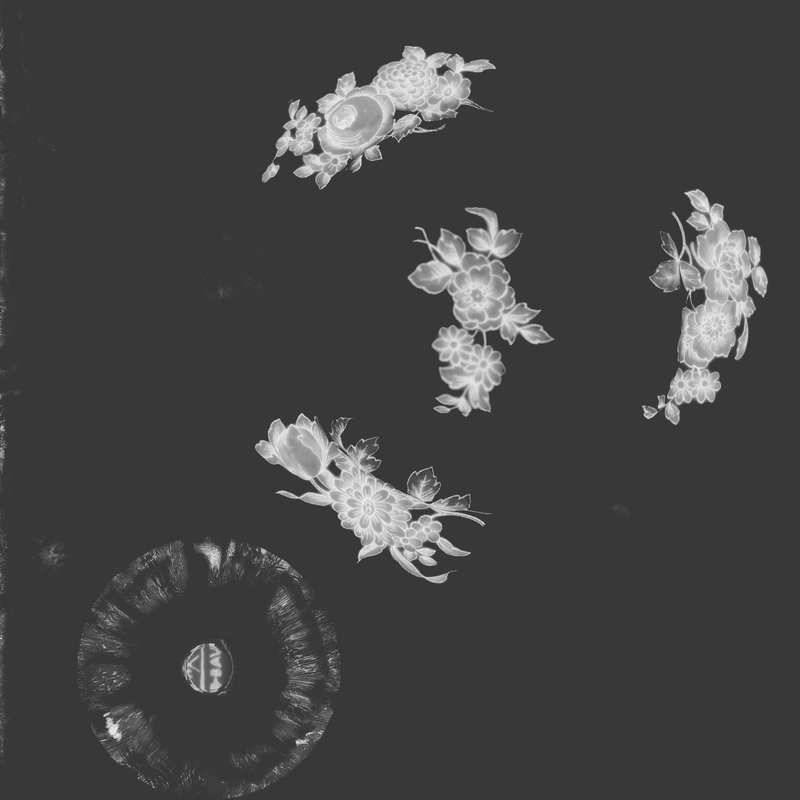
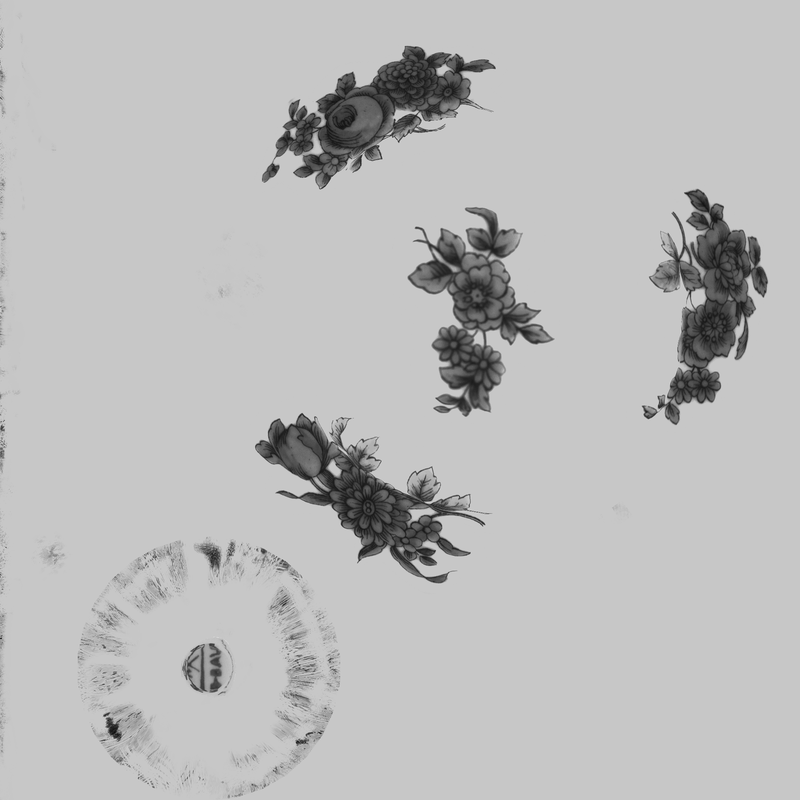
PhotographyUsing a DSLR camera to take multiply photos of the object's decoration, pay extra attention to avoid any highlight and reflection.
These pictures are then imported into Adobe Photoshop for further adjustment and alignment. "Wrap" tool under "Edit" - "Transform" is very helpful when aligning a series of pictures into flat surface.
|
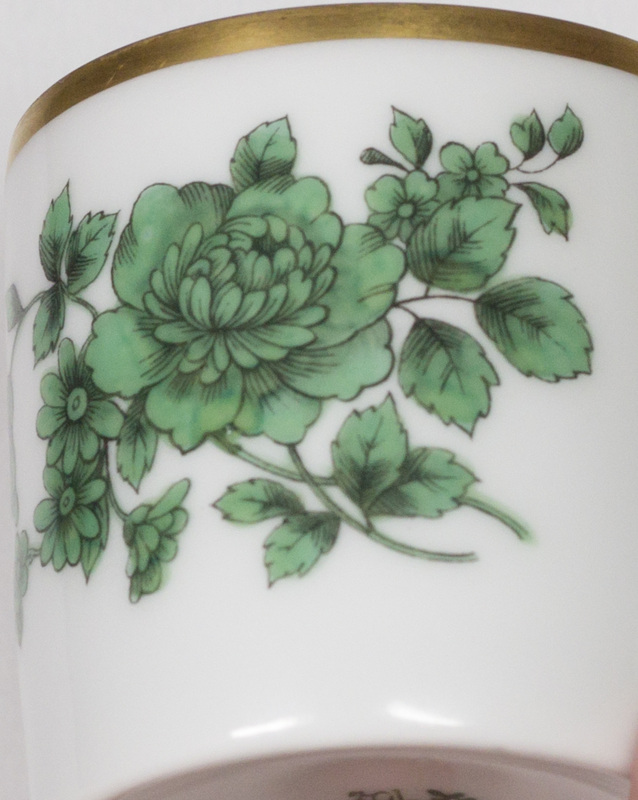
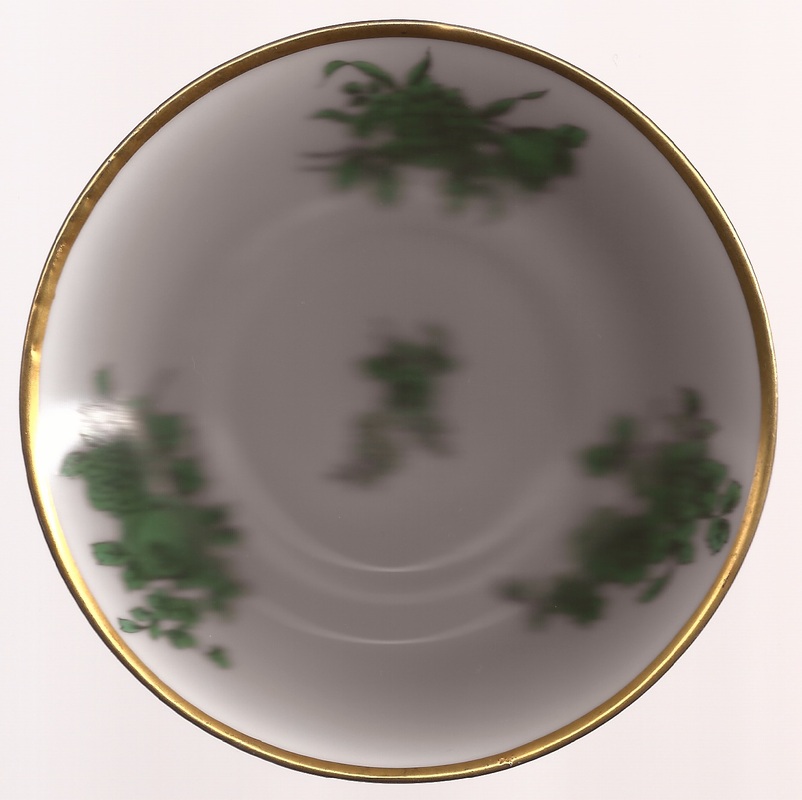
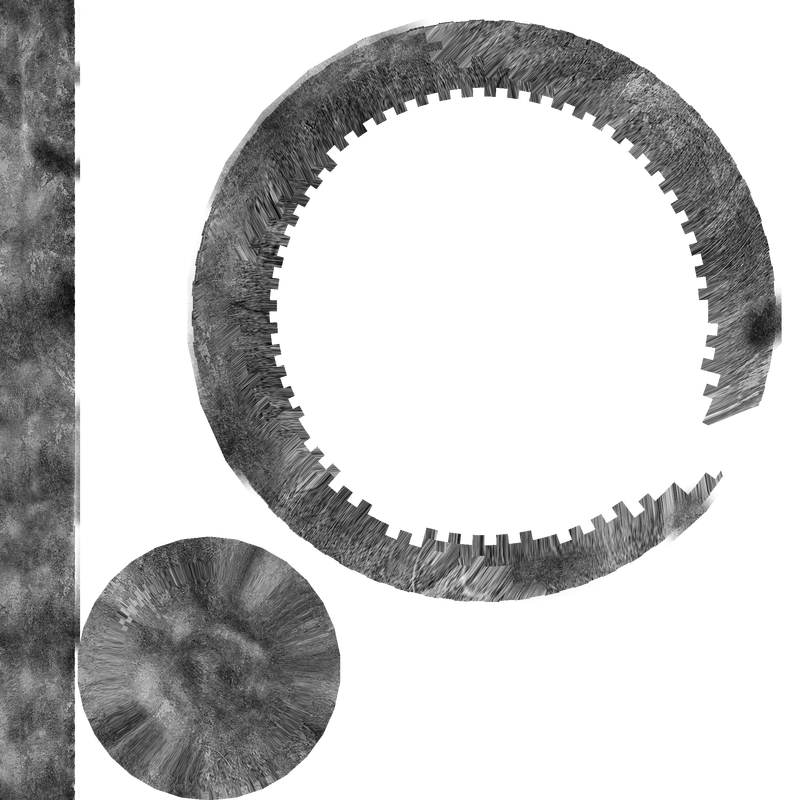
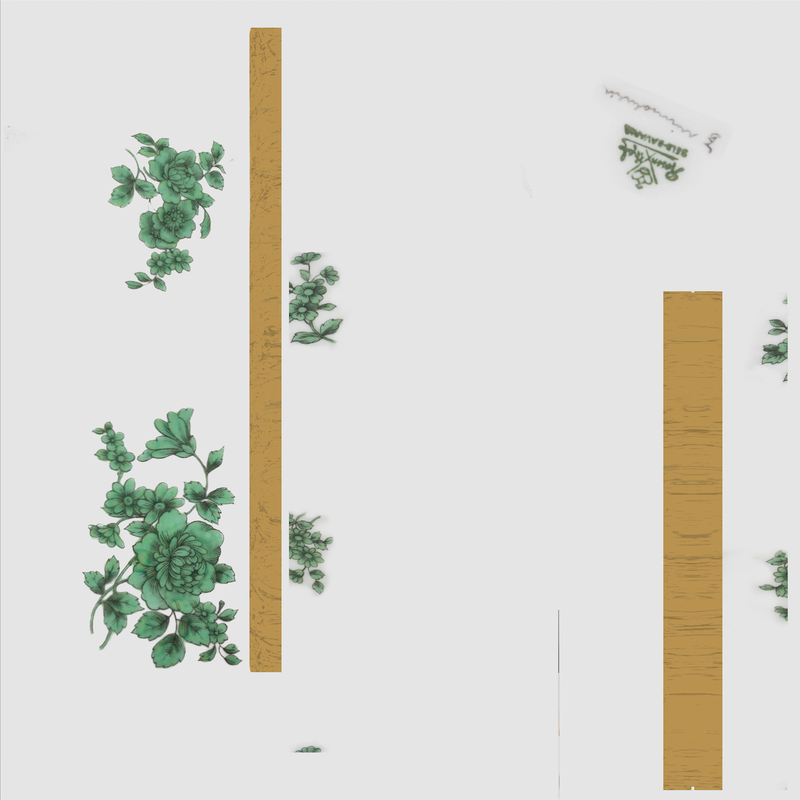
Surface Texture
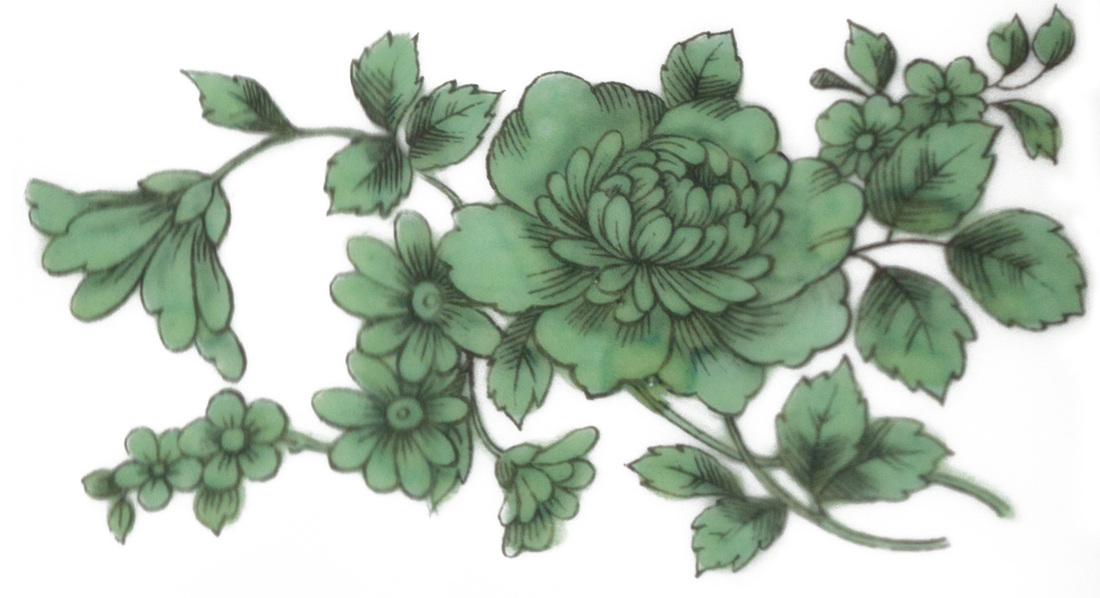
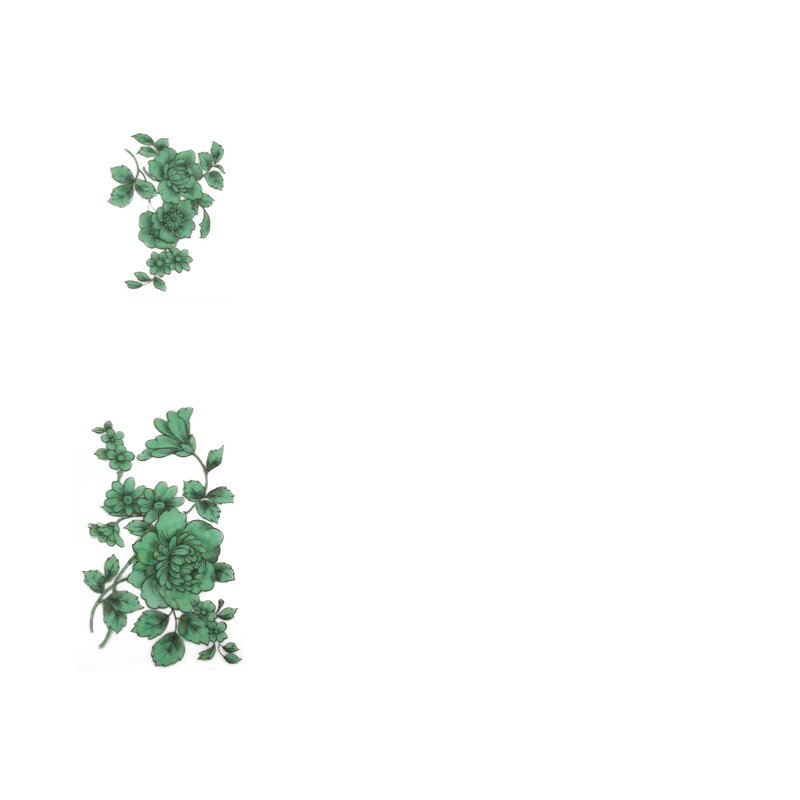
The aligned patterns are then color corrected, and clean up into a set of asset images with transparency alpha channel.
|
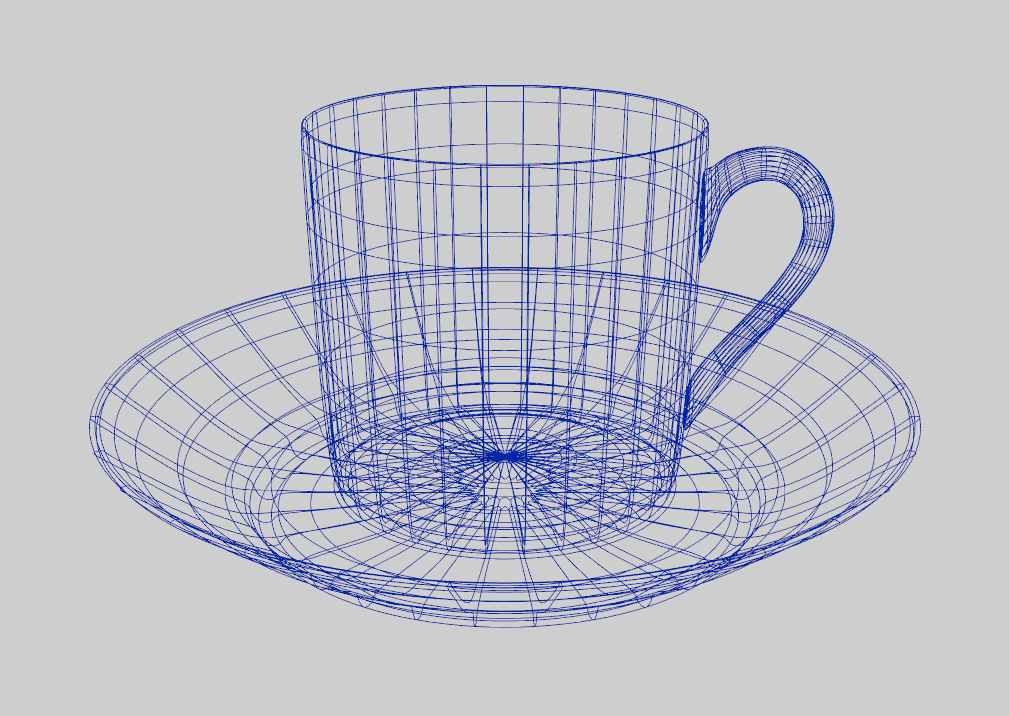
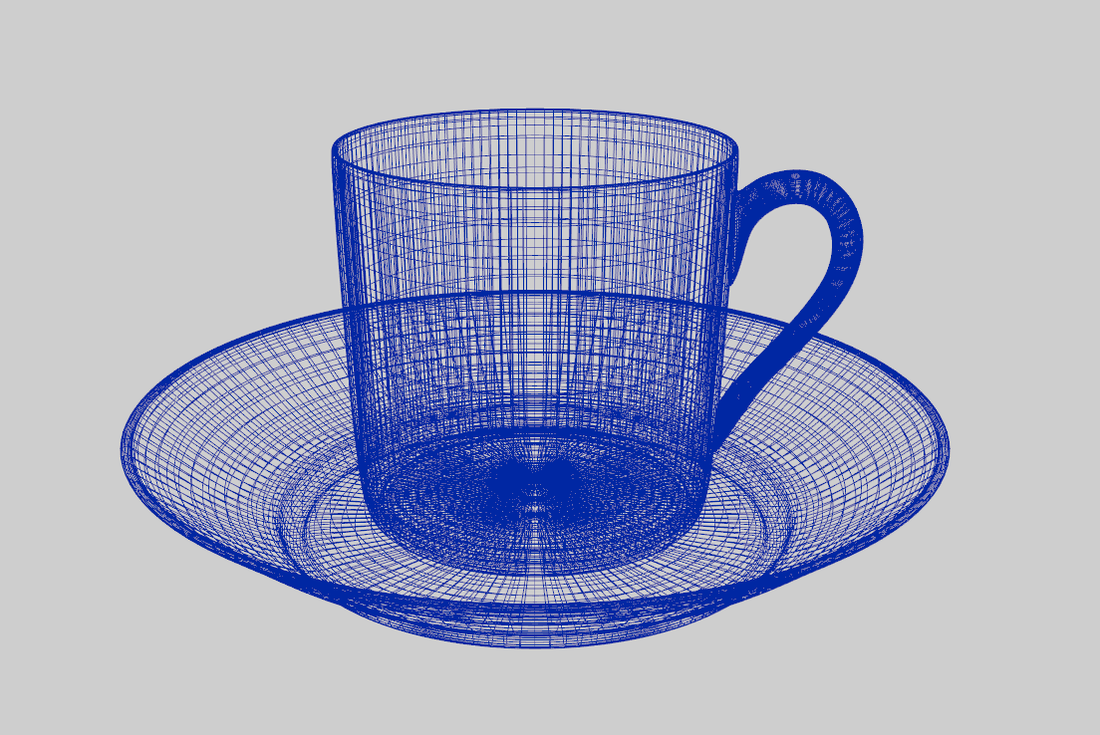
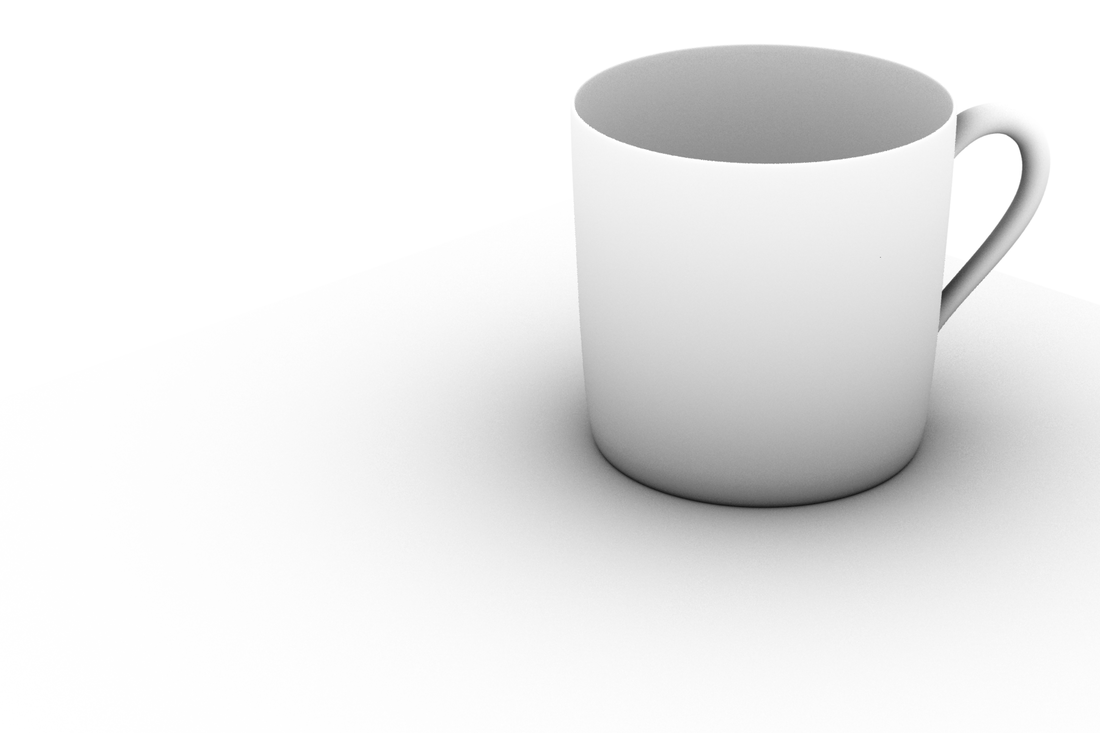
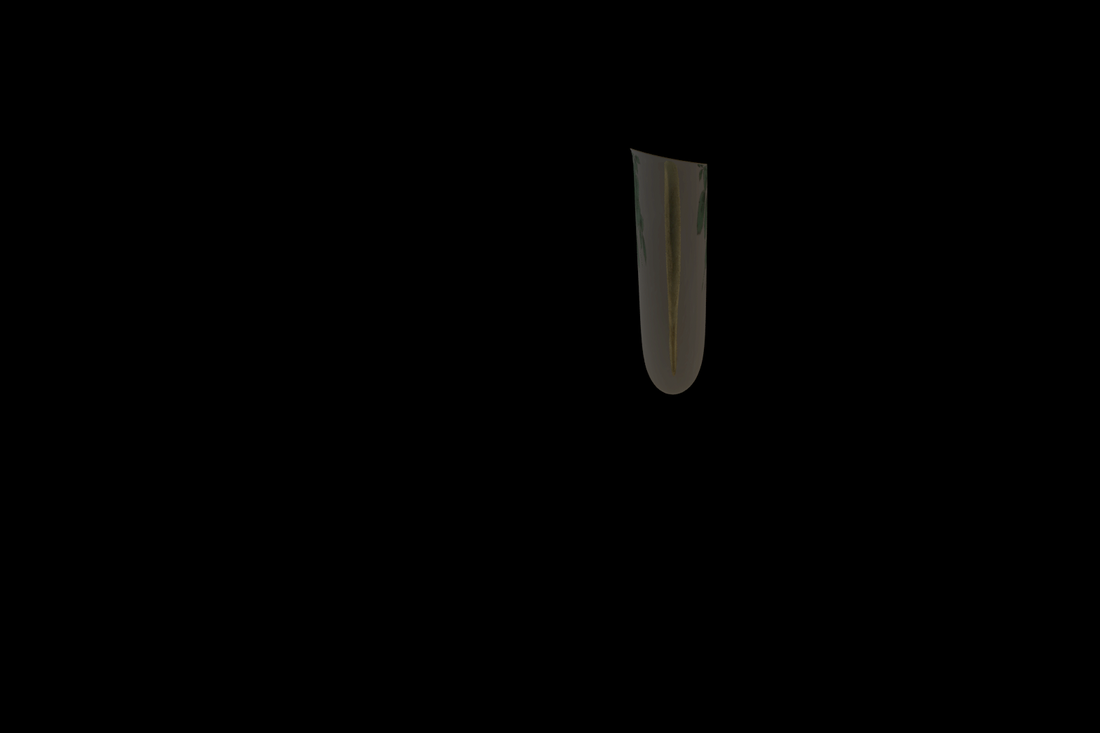
3D Modeling
|
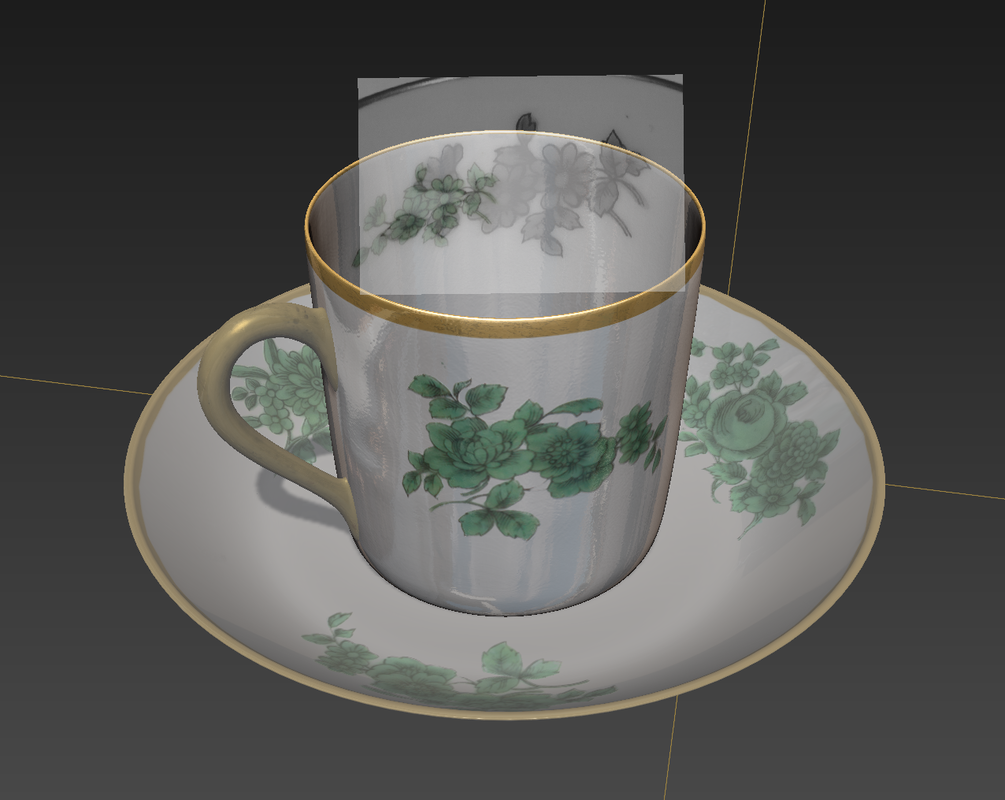
The teacup reference pictures were imported into Autodesk Maya as image plane. Teacup model was made using basic polygon modelling tools.
|
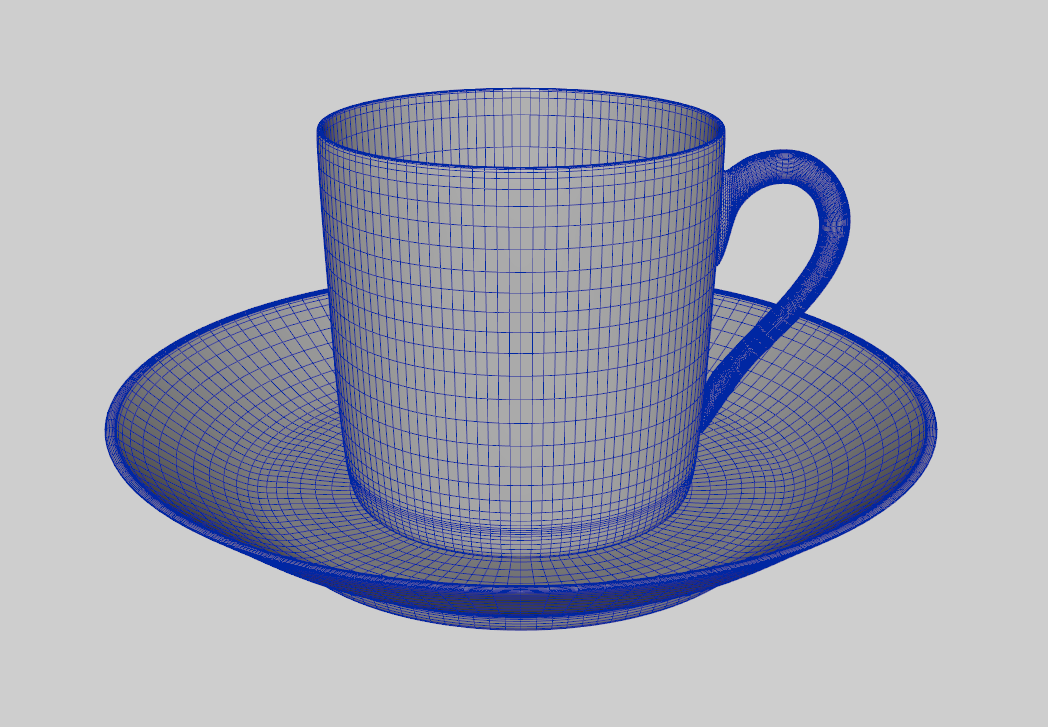
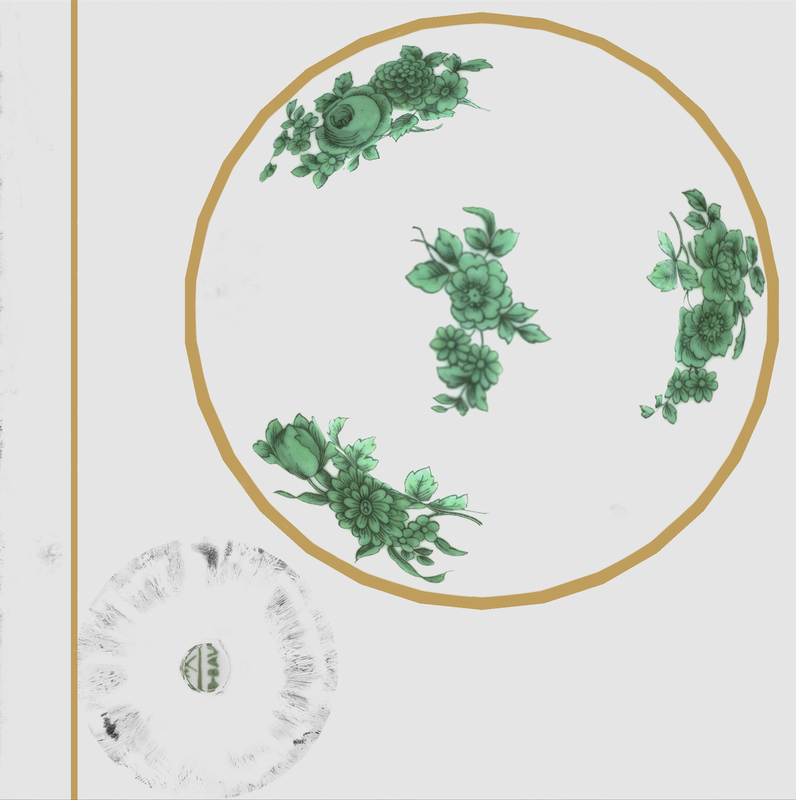
Texture Painting
|
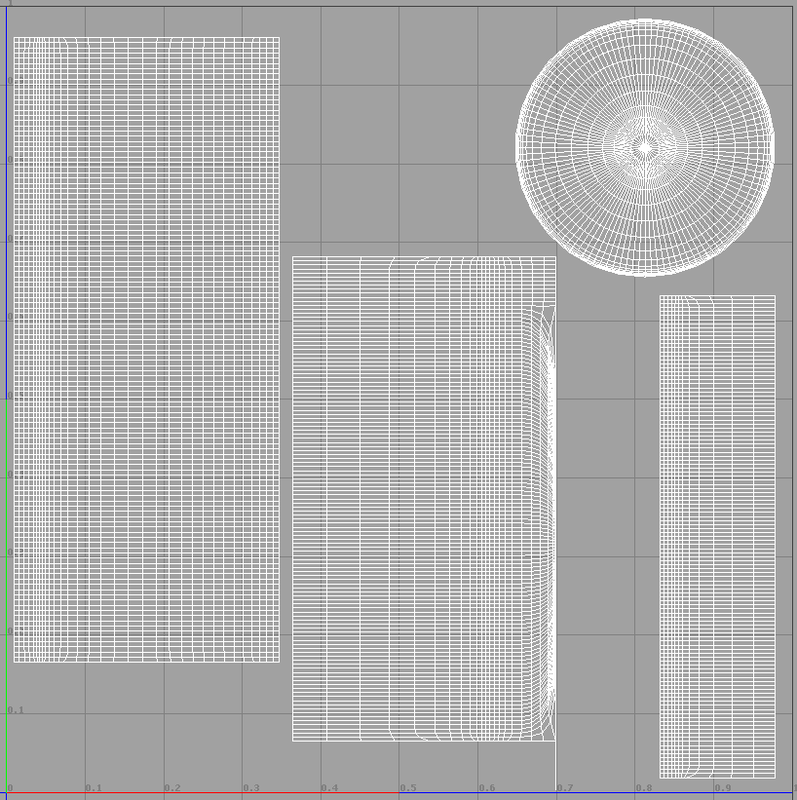
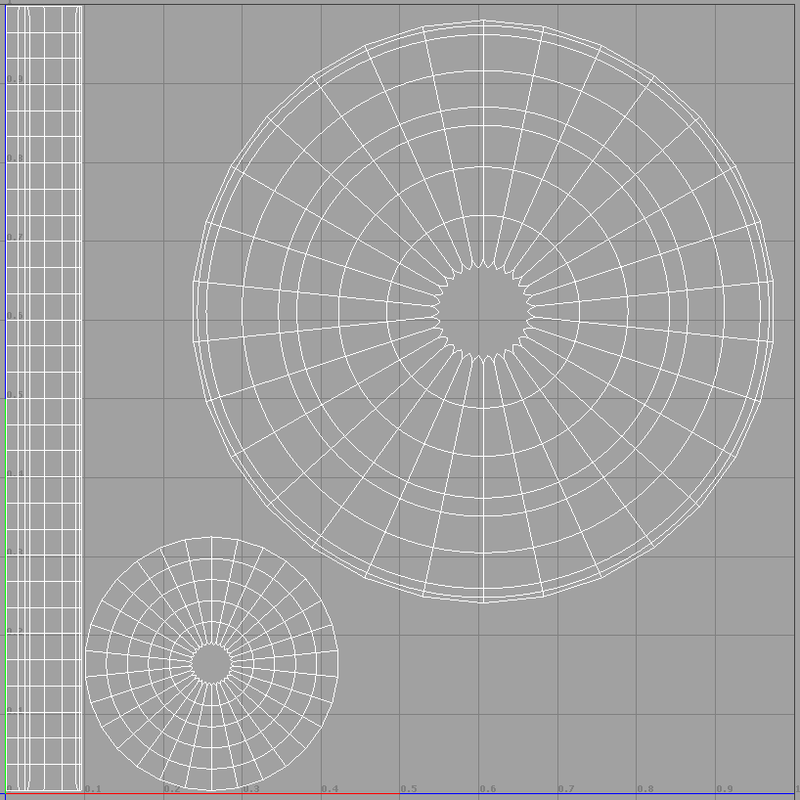
Comparing to the modelling process, the UV mapping is rather simple. Later on, all texture will be painted using Autodesk Mudbox.
|
|
|
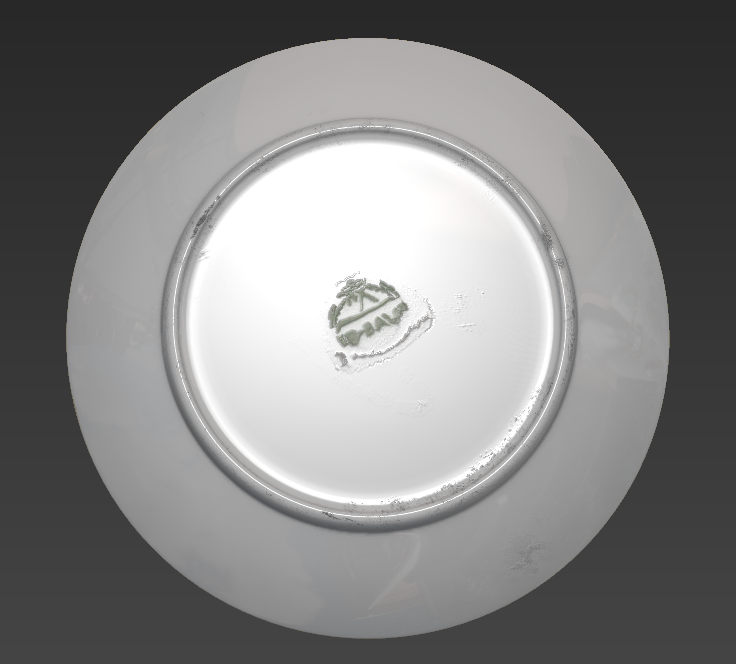
Textures are imported into Autodesk Mudbox, and paint on teacup model using projection and stencil tool.
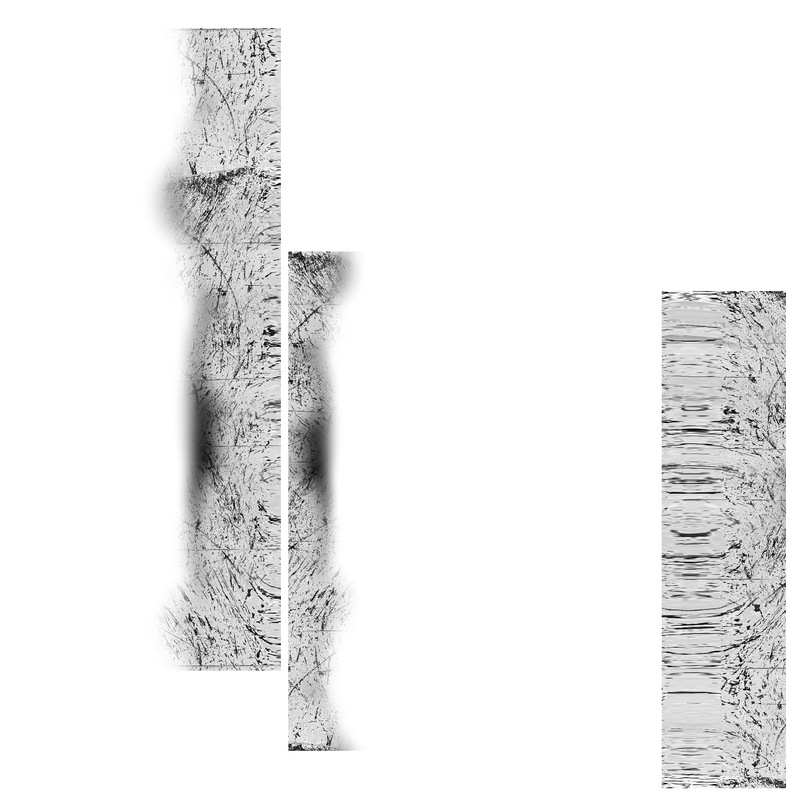
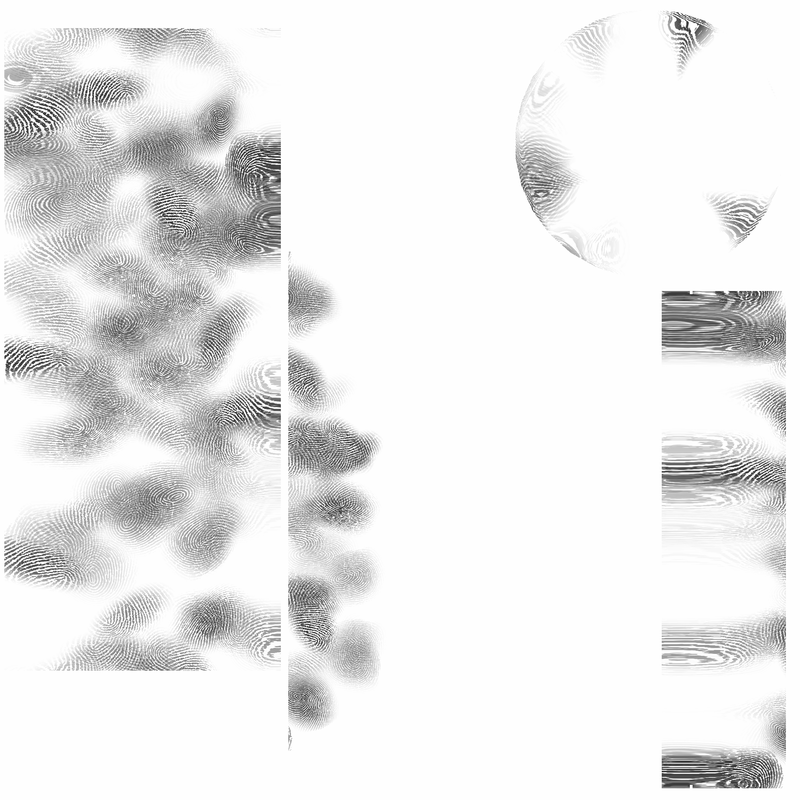
Then, multiple texture layer were painted, included Diffuse Color, Specular Color, Glossiness, Specularity and Bump.
|
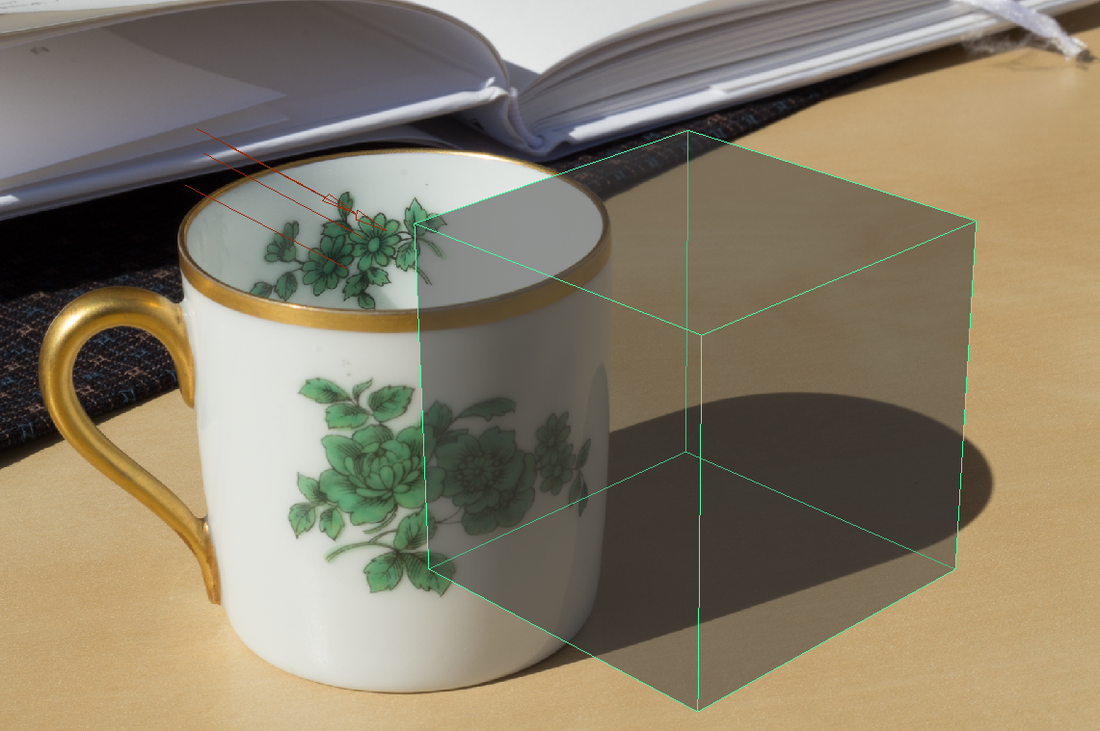
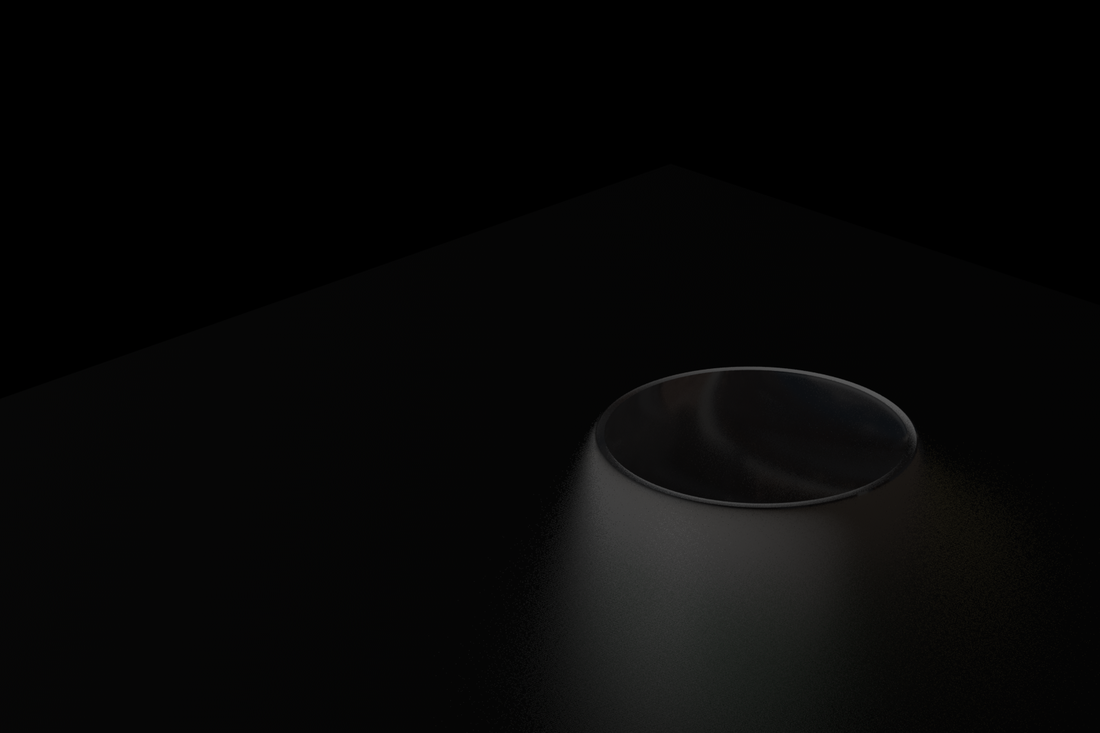
Camera Setup
A small cube was used as a reference object to line up the camera position.
|
|
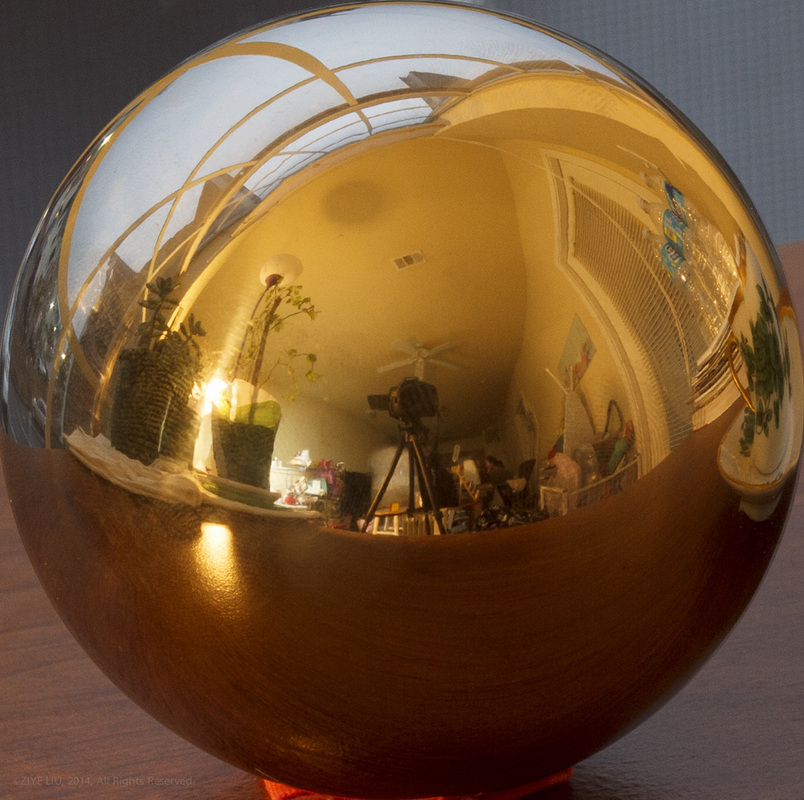
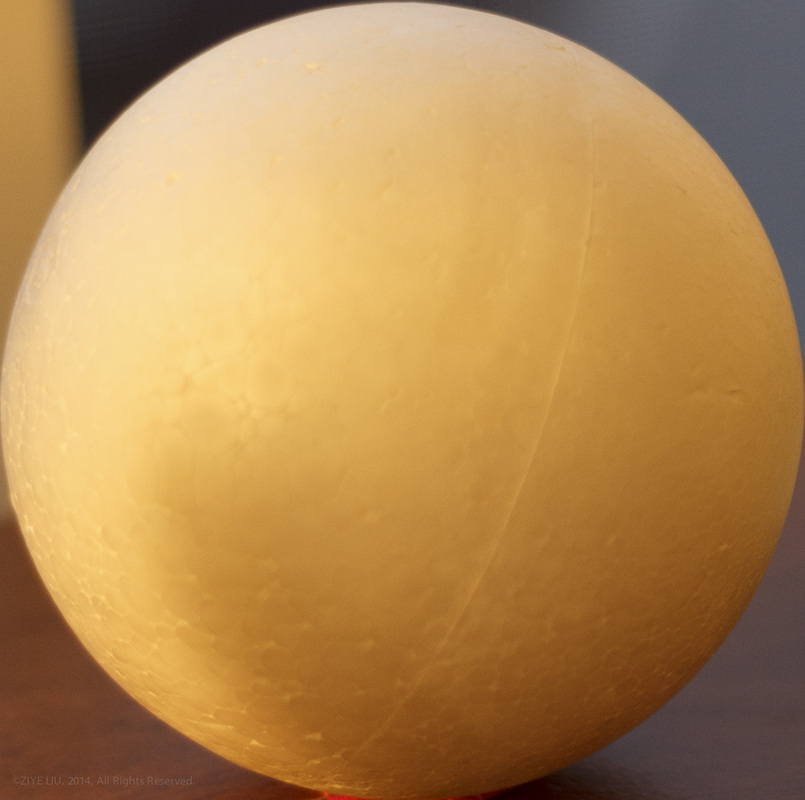
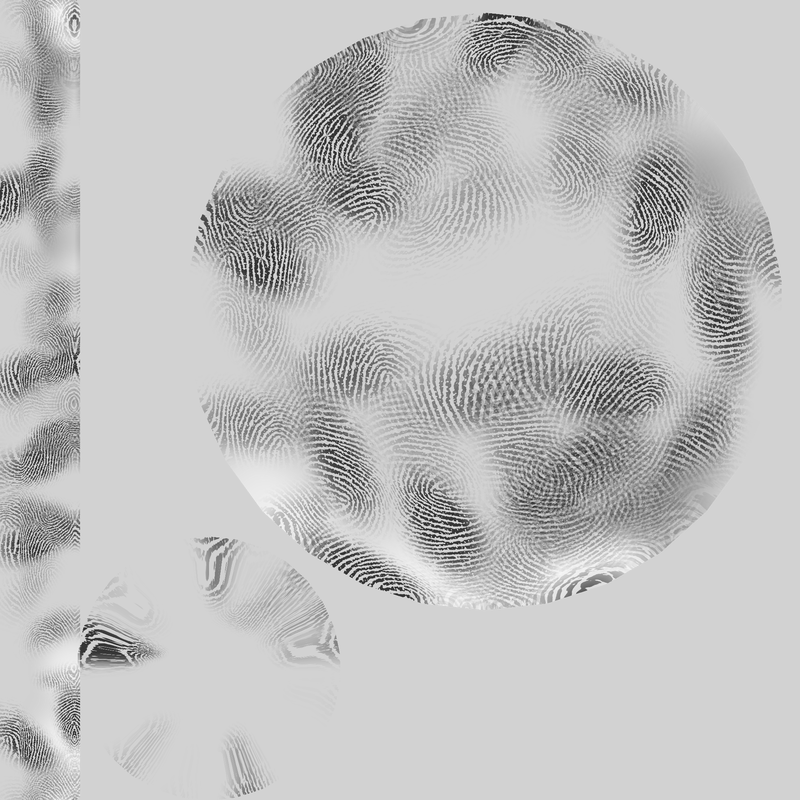
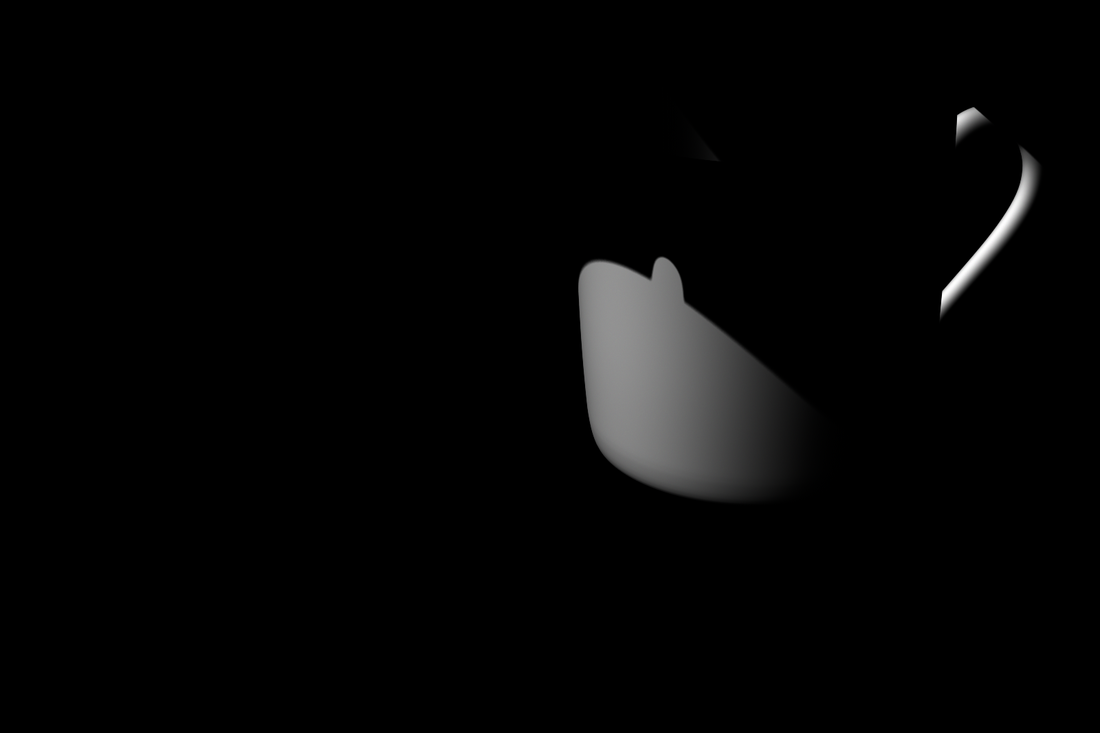
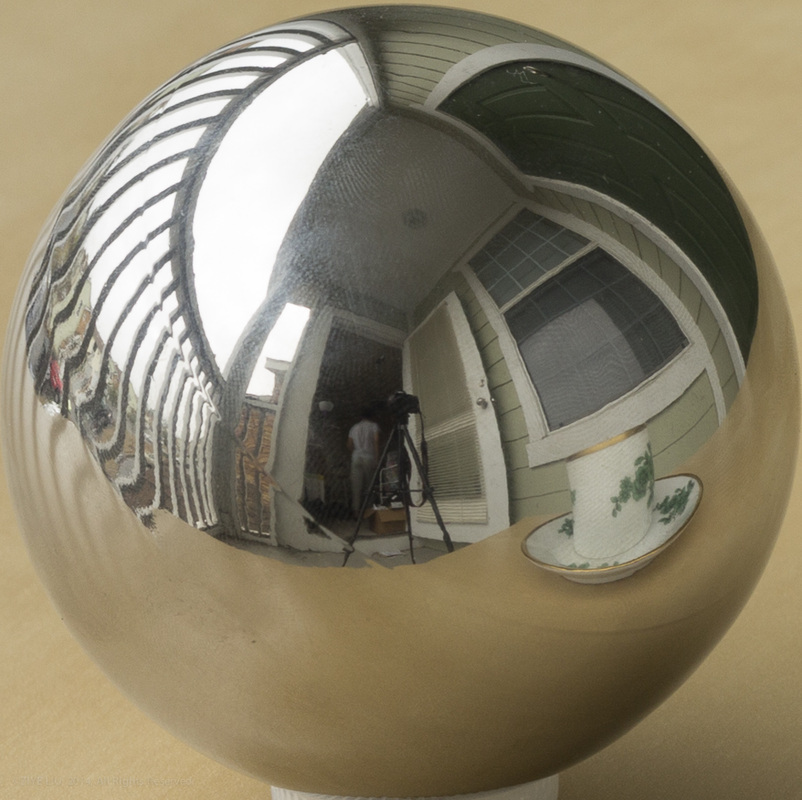
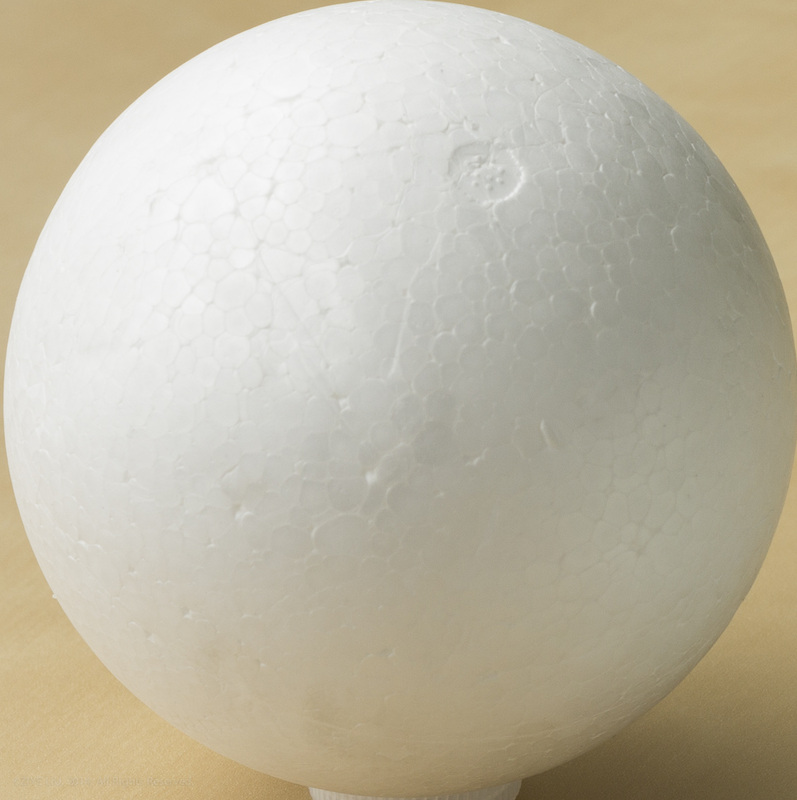
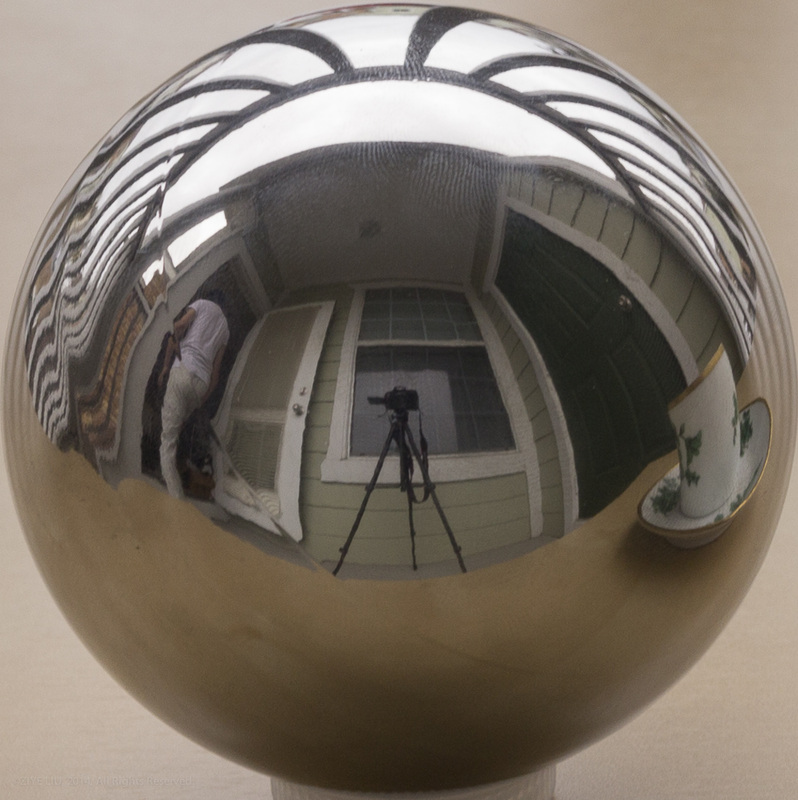
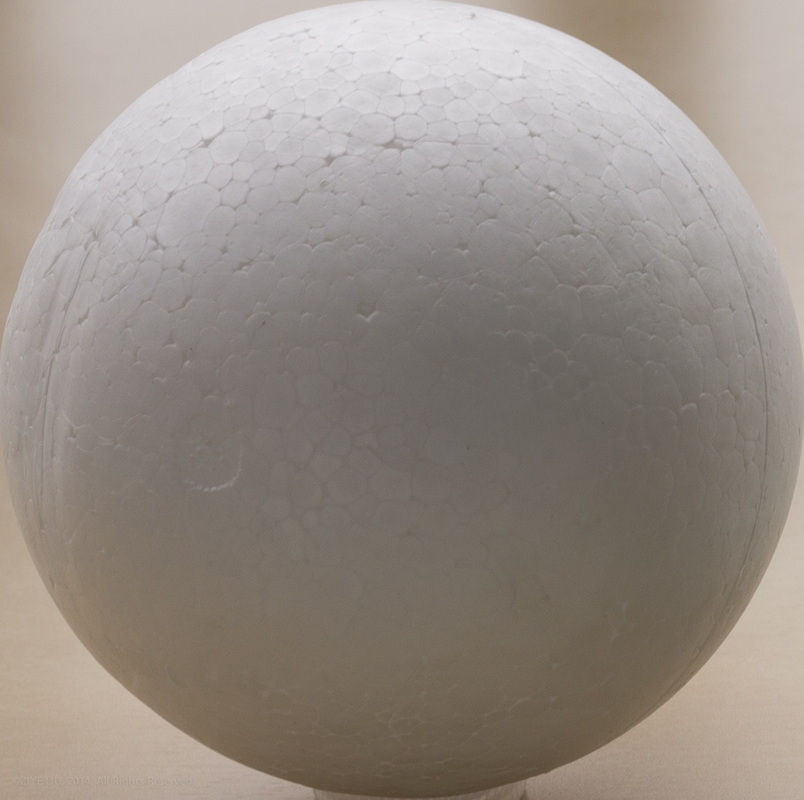
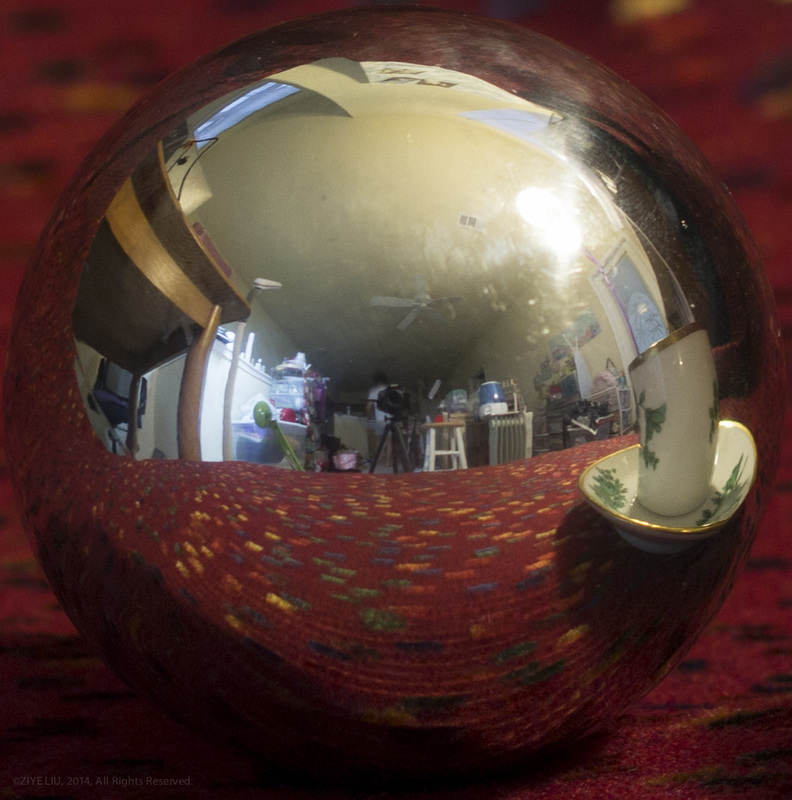
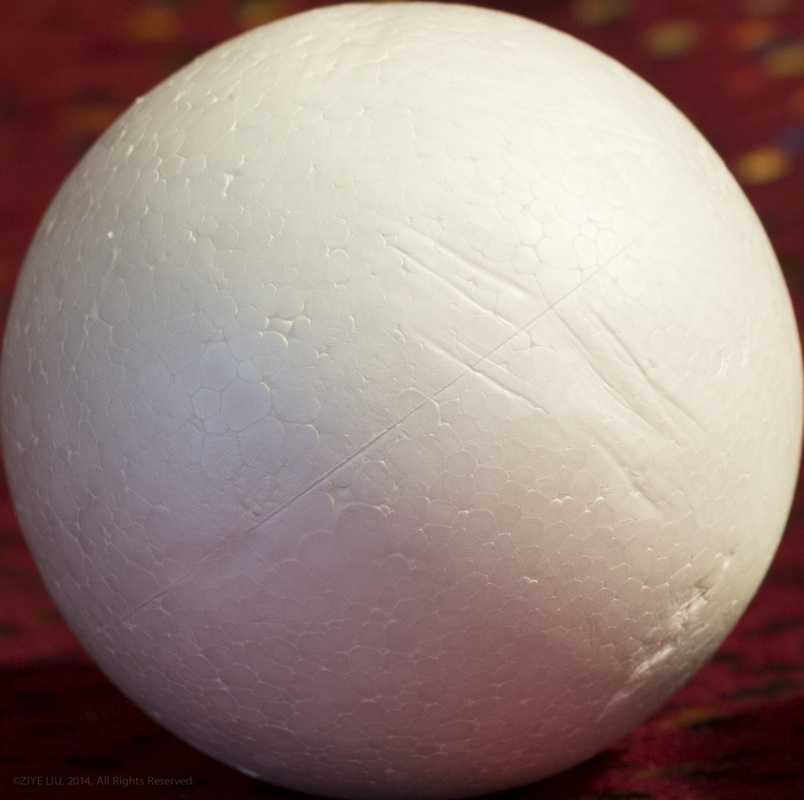
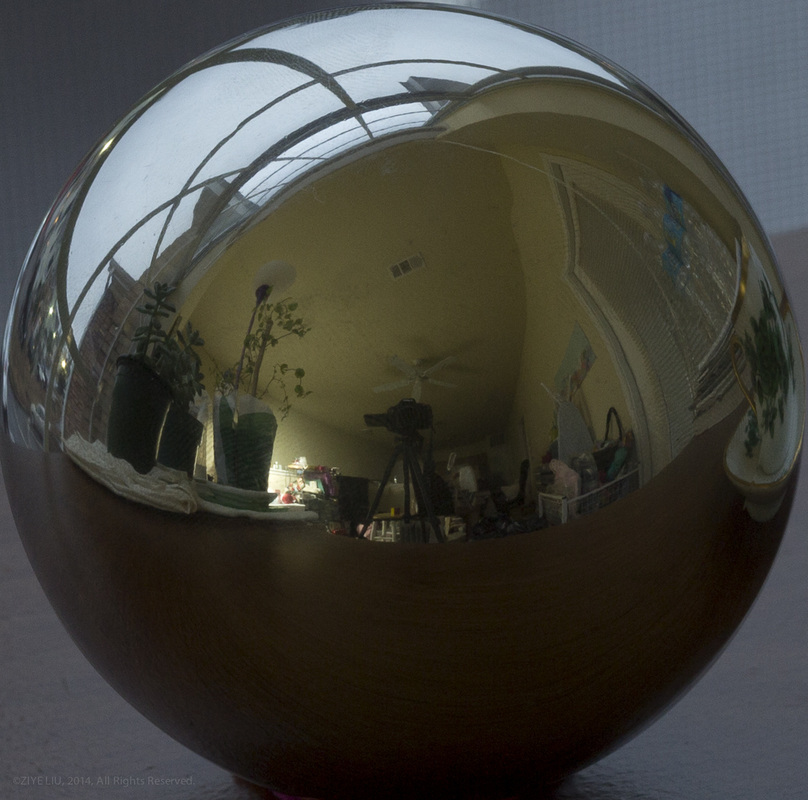
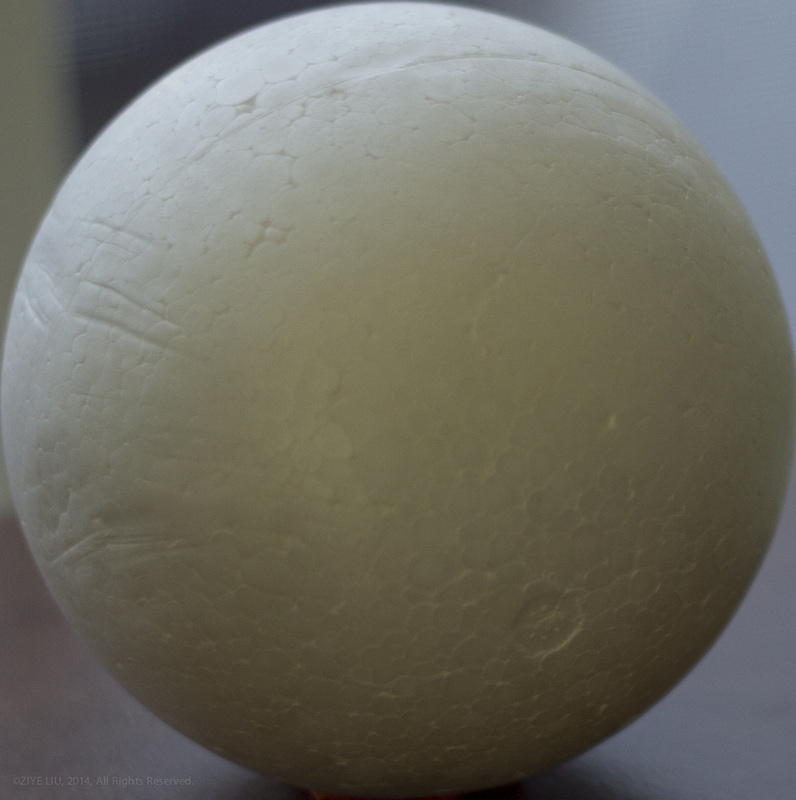
Lighting Setup
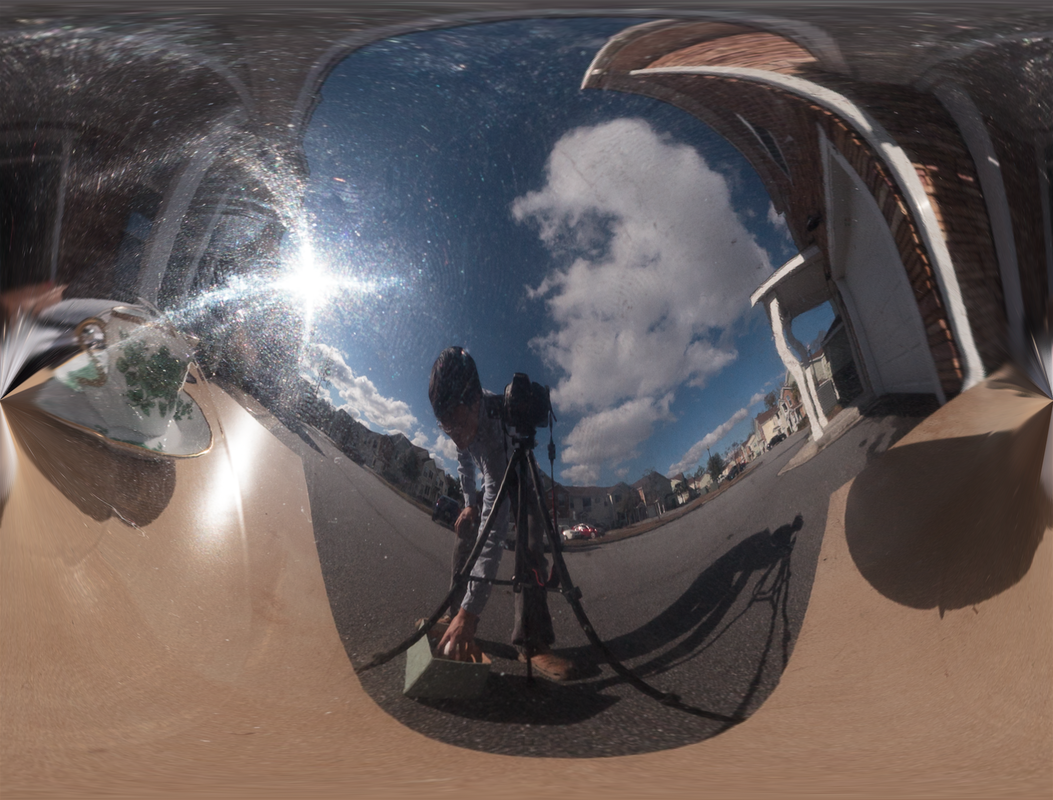
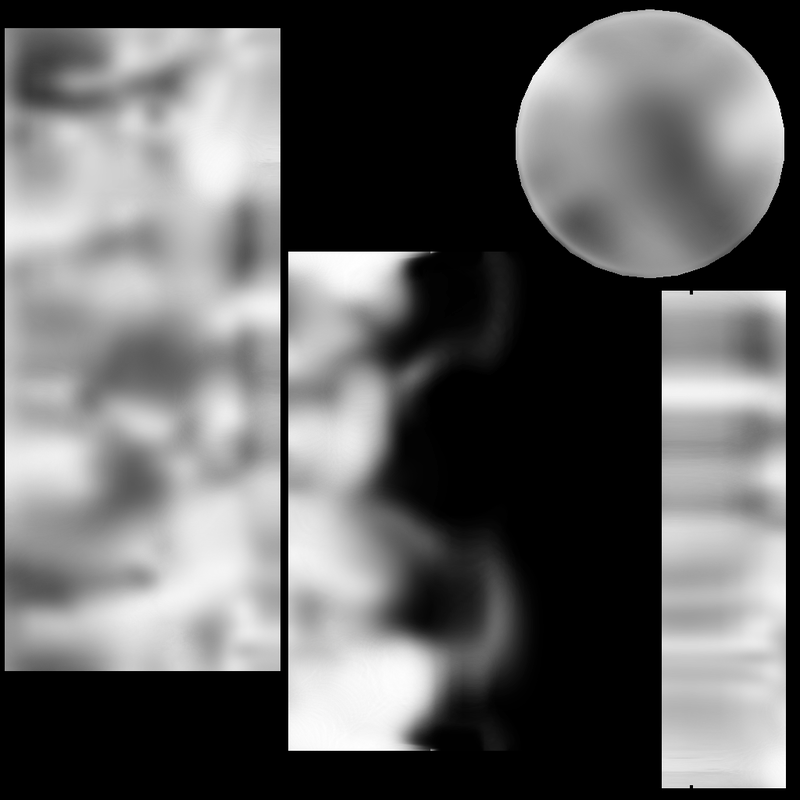
The environment reflection image was photographed using a chrome ball, then unwrap into a spherical object for light emission and reflection purpose.
|
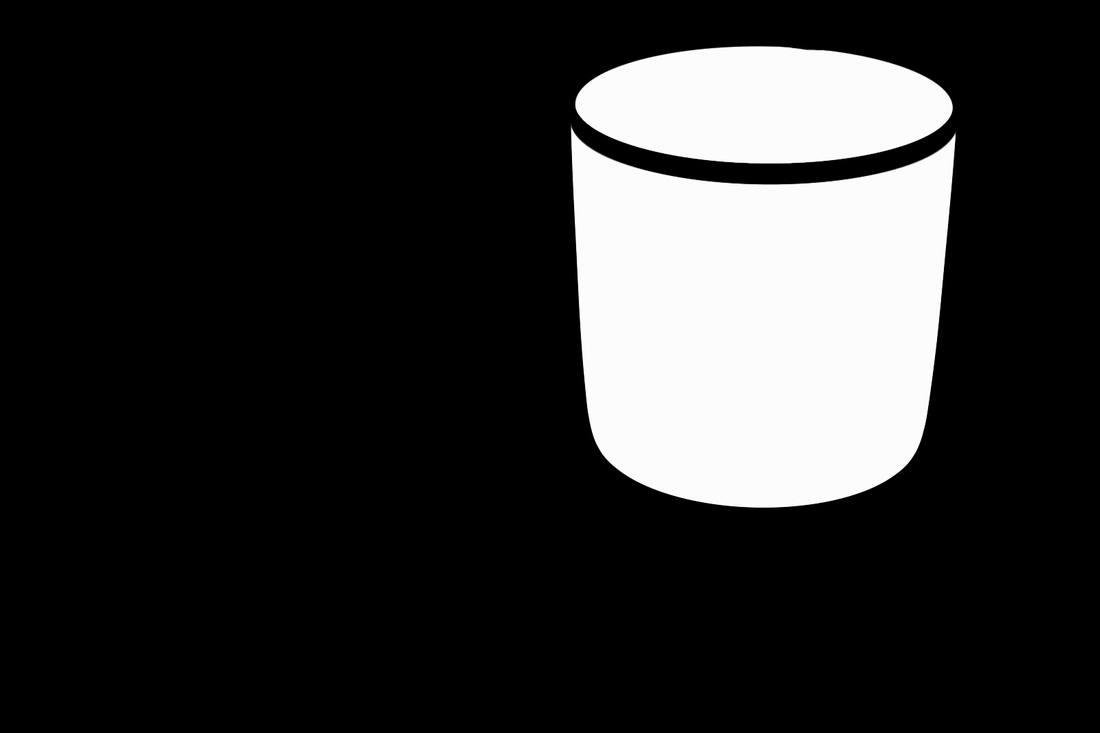
Render Passes
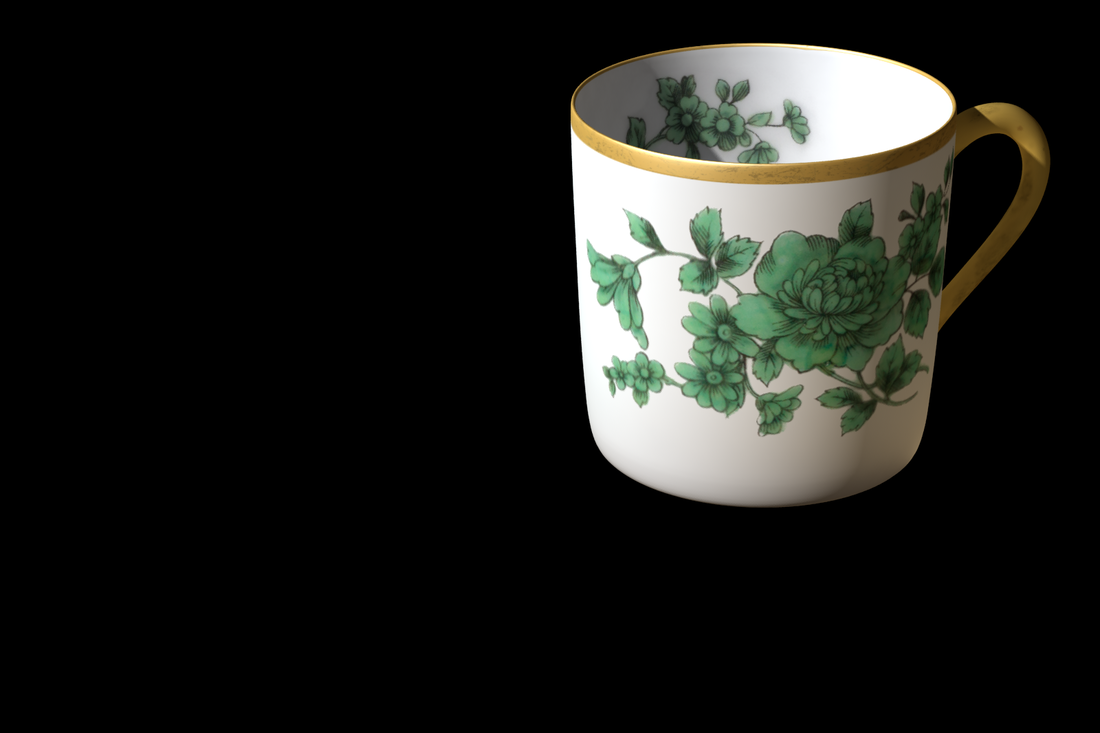


Compositing
Lighting Study
Outdoor / Daytime / Nature Light
|
Outdoor / Daytime / Nature Light
|


Indoor / Night / Artificial Light
|
Indoor / Night / Nature Light
|

Indoor / Night / Artificial Light
|